


From 14 October 2020, Google Analytics 4 property will be the new default whenever you create a new property.
If you are already using Google Analytics and your properties have been created before 14 October 2020, then this post will be important for you, as you will not be automatically upgraded to the latest version.
It is in fact crucial to understand the need to switch over to Google Analytics 4, as future updates and developments will be focused there instead.
Insights and predictions are powered by a whole new AI, making Google Analytics more powerful than ever with predicting trends and outcomes. And if you take a look at the new dashboard, you will notice a few changes here and there. A lot more data is being collected on the new version.
I've already started to move over on all my project sites as well as for this site Dashways.
No. Data from properties cannot be moved over, and it goes the same for the new Google Analytics 4 property. This means that your new property will start afresh with the collection of data.
Try not to delay moving over, as the earlier you move over to Google Analytics 4, the more data you actually collect under the new property.
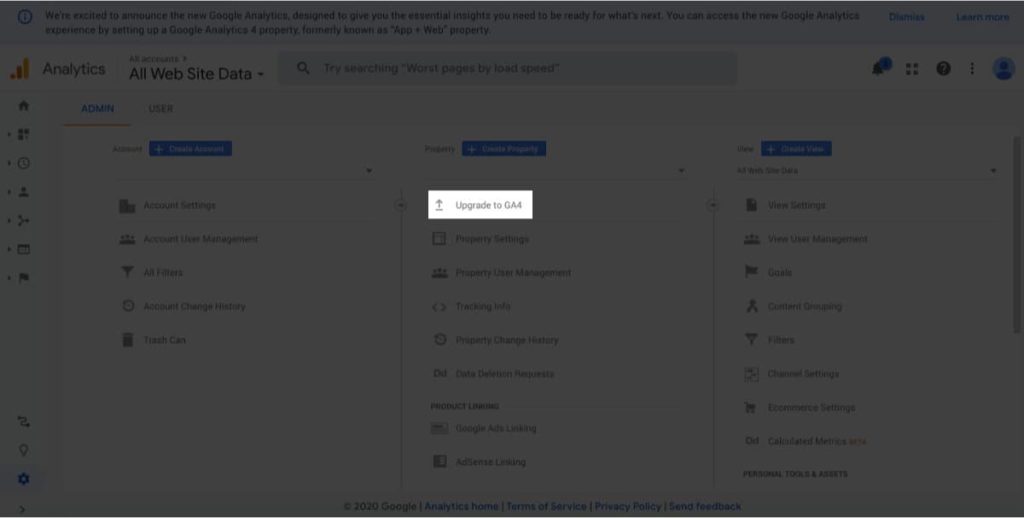
Once you have logged in to your Google Analytics dashboard, you will want to access your admin area by clicking on 'Admin' on the lower left of the dashboard.

Under the property column, you should be able to see, under your existing property, a clickable link that says 'Upgrade to GA4'.
Important Note: What the upgrade process actually does is creating a new property. Your data in the existing property will not be moved over.
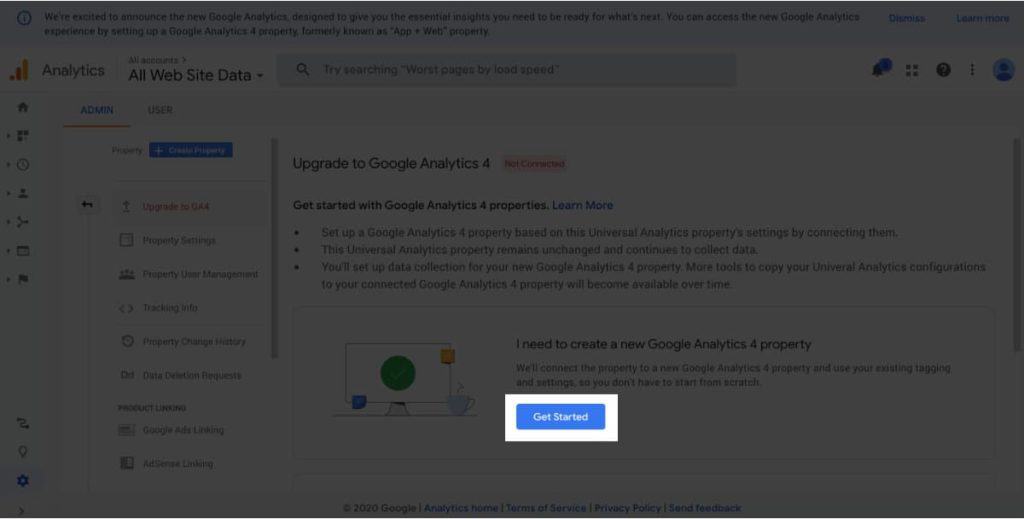
Under the heading 'I need to create a new GA4 property', click on the blue 'Get Started' button.
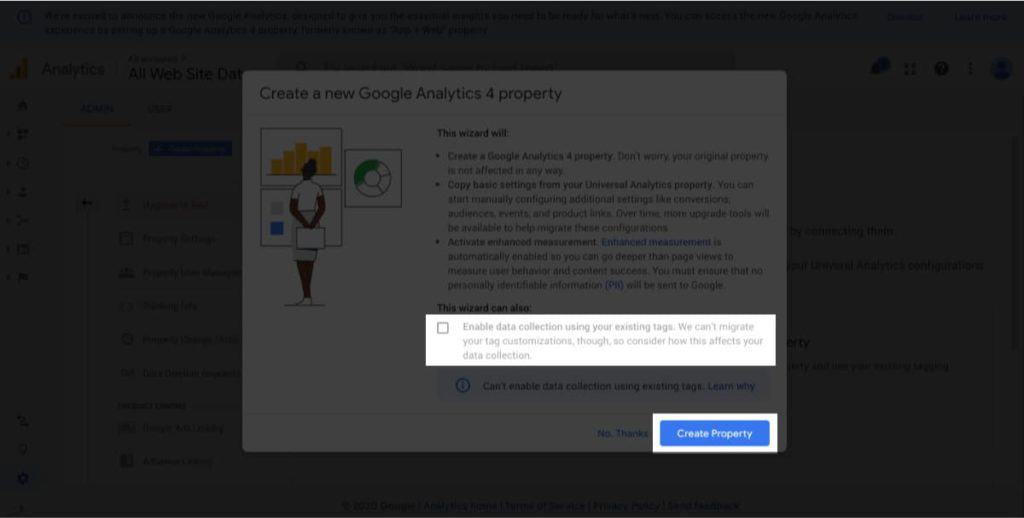
Next, click on 'Create Property' without checking the 'Enable data collection using your existing tags' checkbox. This is because we want to keep things well organized, and not have it linked to the tag.
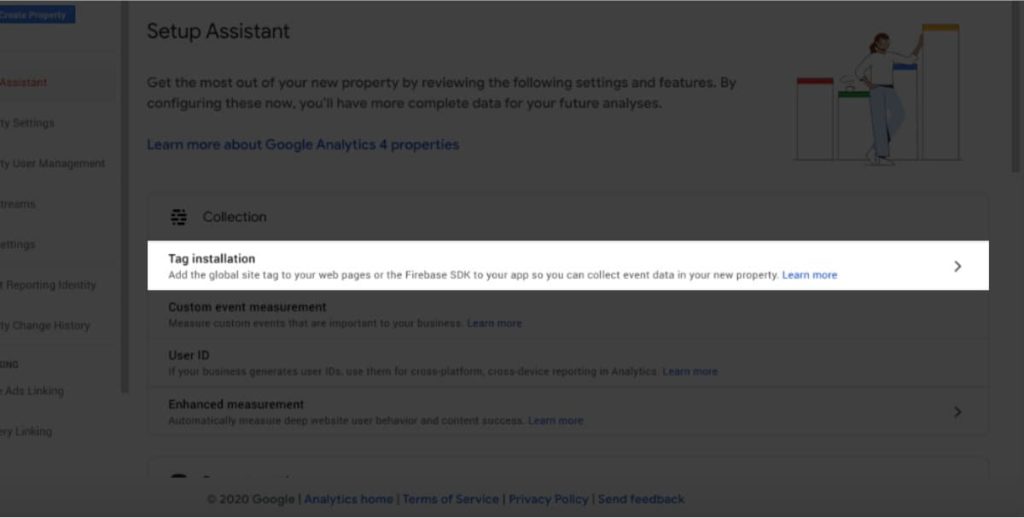
At this point, the new Google Analytics 4 property has been created, and that's pretty much all you have to do within your dashboard.
But before moving off, you will want to copy the new tracking tag first. In the Setup Assistant page, click on 'Tag Installation'.
Then select the website that you want to obtain the tracking tag for.
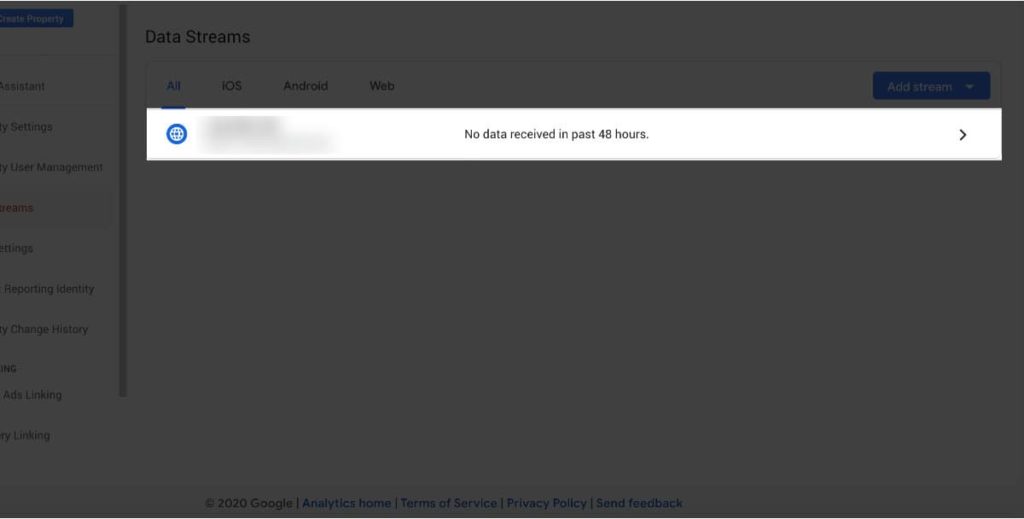
You will be brought to a screen that provides the necessary information that's used to place onto your website.
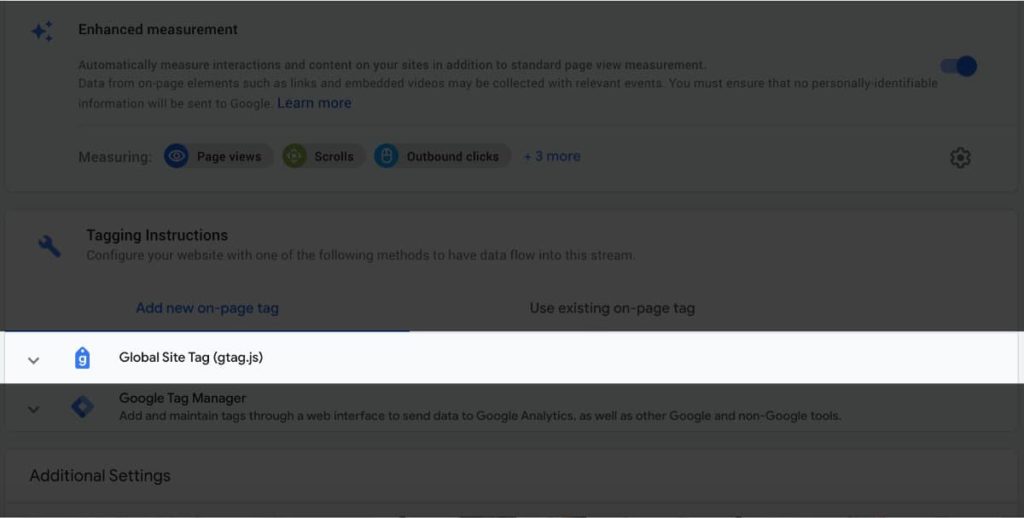
Here, you will want to click on the Google Site Tag (gtag.js) top open up the accordion tab and reveal the tracking tag.
Go ahead and copy the code that is displayed onto your clipboard. The next step after this will be to install the code onto your website.
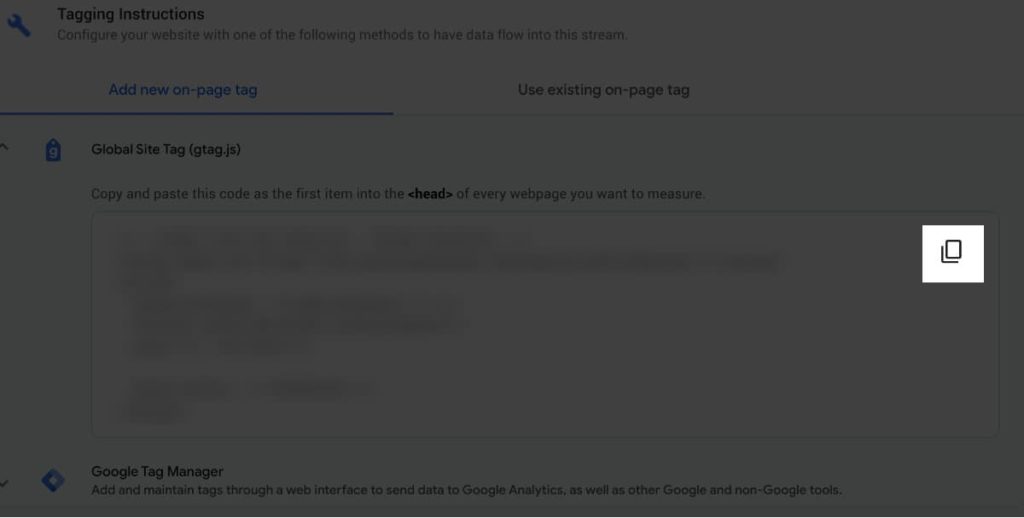
In general, you will want to paste the code within the <head></head> section on every page that you wish to track.
In WordPress, you can easily achieve this in one of several ways:
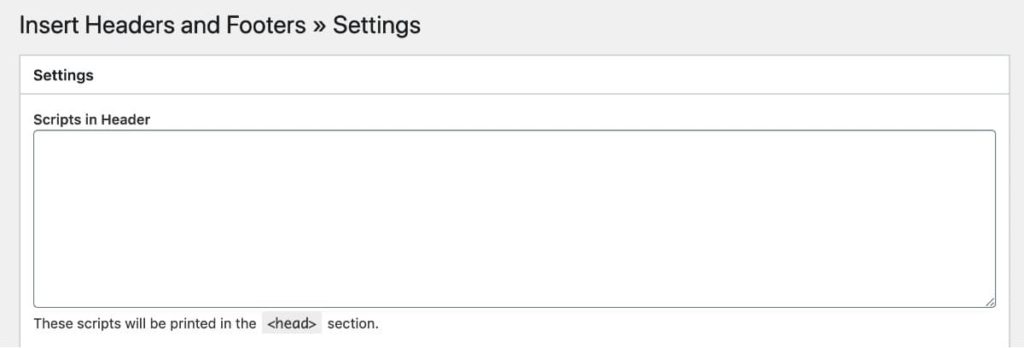
In my next example, I will be using the plugin called Insert Headers and Footers, which will be my preferred method.
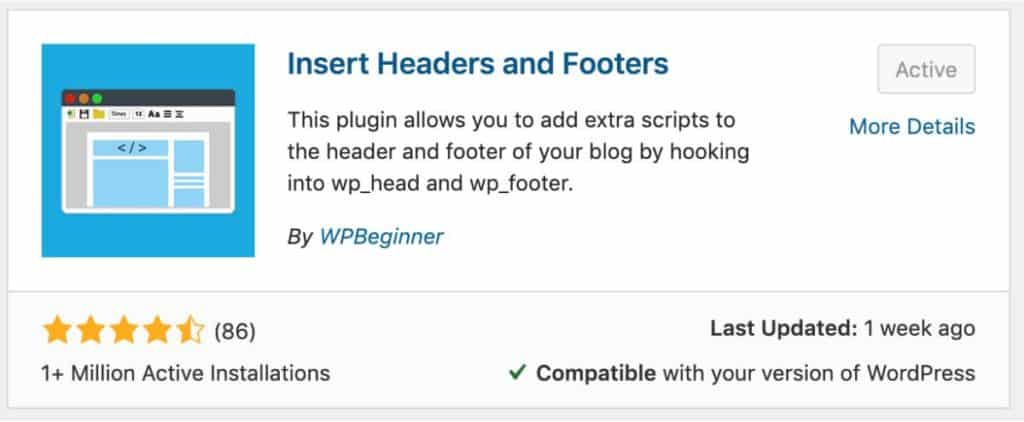
Simply install the plugin and activate it. Go over to Settings > Insert Headers and Footers. Paste the code inside 'Scripts in Header' and click on Save, and you are pretty much done.
You can in fact already start to remove the old tag, as Google Analytics 4 is fully operational at this point. But if you still need your old property to be tracking data for any reason that you might have, then you may just leave the code in its place, till the time comes when you are ready to remove it. It is fine to have multiple Google Analytics tags on the same site.
